
Before choosing a ceiling light, sconce, or floor lamp, decide whether the floor mirror will reveal its bright aperture at night. Treat the mirror as a second field of view, not as a device that doubles illuminance. Daylight requires a separate approach, covered in our guide to using floor mirrors to redirect daylight safely.
Why do floor mirrors make electric-light glare more noticeable?
Floor mirrors create no extra light, but they can place a bright luminaire directly inside the reflected field of view.
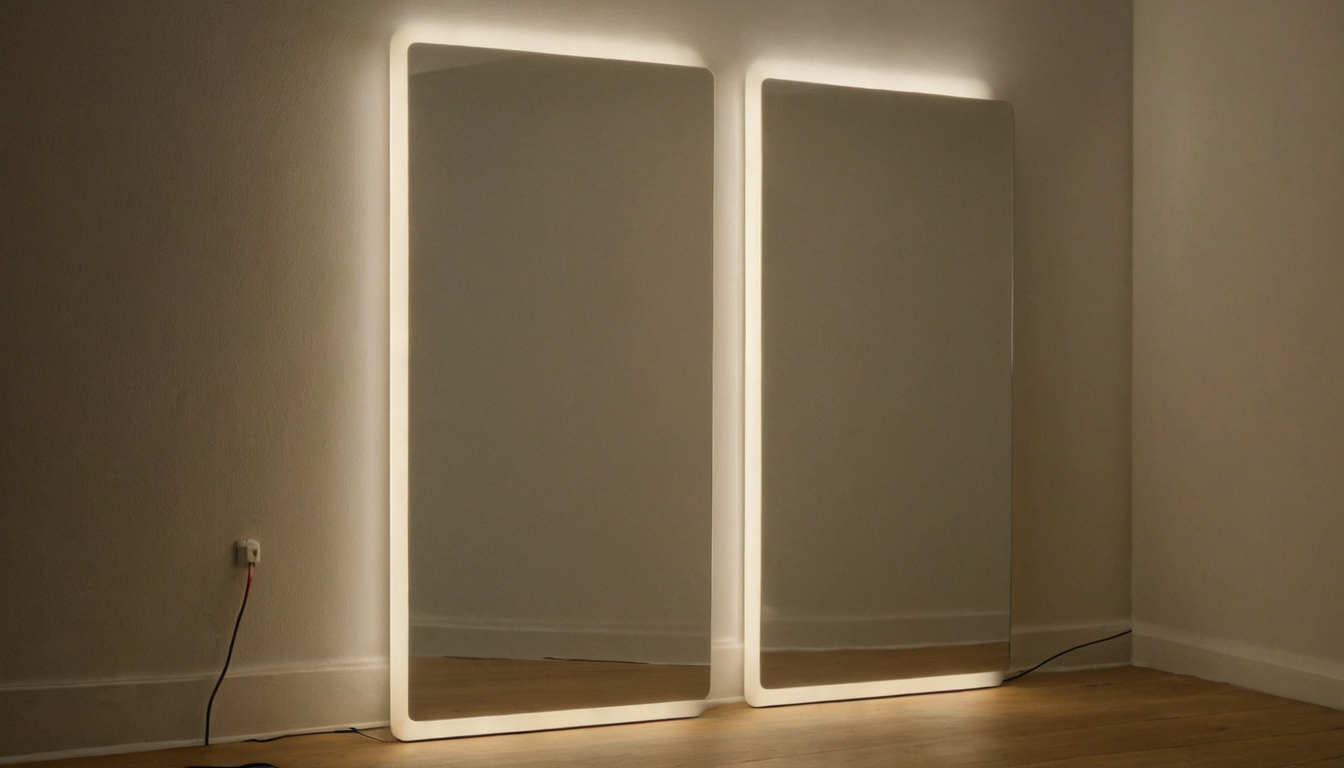
Why do floor mirrors make electric-light glare more noticeable shown as an editorial planning reference.
A floor mirror reflects source luminance, not simply room brightness
Mirror glass redirects light at a matching angle, so a small LED aperture can look conspicuously bright against a dim room. The IES defines discomfort glare as discomfort that does not necessarily reduce visibility. With other factors equal, higher maximum source luminance produces greater discomfort, according to an IES discussion of glare metrics. UGR addresses interior glare potential but does not predict every mirrored residential view or non-uniform LED source.
| Condition | Reflected effect | Practical response |
|---|---|---|
| Dim room | Higher source contrast | Shield and dim the source |
| Exposed LED | Visible bright aperture | Choose a recessed or diffused source |
| Shielded luminaire | Aperture may be concealed | Verify the cutoff in the mirror |
Standing and seated viewpoints produce different floor-mirror glare paths
Source luminance must be considered from the viewer’s vantage point, and product summaries alone may not reveal how uncomfortable an LED source will appear. A light hidden while dressing may become visible from a bed or chair, especially when the mirror leans. Map those sightlines before locating ceiling fixtures.
Where should ceiling lights be placed relative to floor mirrors?
Position ceiling lights only after checking whether their apertures appear from approach, dressing, and seated viewpoints. Shielded downlights outside the reflected viewing cone are generally safer than exposed lamps centered in front of the glass.
Floor mirrors favor shielded ceiling apertures over exposed ceiling lamps
Check the source: compare aperture size, regression, lens depth, cutoff, beam spread, and photometric distribution. A recessed downlight can still glare if its bright lens remains visible. A surface cylinder may expose its lens, a track head may reveal its source after aiming, and a pendant needs an opaque or diffusing shade.
Check the geometry: use the planned ceiling height, mirror dimensions, tilt, viewing distance, and furniture arrangement. Test every intended track-head position and confirm that a diffuse ceiling fixture does not become a broad bright patch after dark.
A downlight centered on a floor mirror is not automatically useful task light
A centered downlight may brighten the top of the head while leaving the face shadowed, yet still appear as a reflected hot spot. Review lumen output and photometric files, then mark proposed coordinates on both plan and section. If ceiling lighting cannot provide comfortable face-level light without entering the reflection, wall lights beside the mirror are the better next option.
Wall lights beside floor mirrors usually control glare better than lights above them
Wall lights beside floor mirrors can provide more even vertical illumination when their luminous surfaces are diffused, shielded from direct view, and positioned for the actual users. An above-mirror light is less reliable for full-length viewing because it can cast downward facial shadows while becoming a conspicuous reflected source.
Side lighting for floor mirrors should serve the face without entering the reflected sightline
View the mirror from the left, center, and right at normal dressing distance. If a bright diffuser or exposed lamp appears beside the face, move the sconce farther laterally, reduce its projection, or specify deeper shielding. Mixed-height households require checks from standing and seated positions rather than one assumed eye height.
Wider mirrors and shorter viewing distances expose more of the side walls. A temporary full-scale mockup is therefore more reliable than selecting a mounting position from an elevation alone.
Lights above floor mirrors require shielding and a defined task
An above-mirror fixture works best when it washes the wall, lights nearby storage, or supplements side lights. Use an opaque shield or controlled optic, then aim the output toward the useful surface without revealing the aperture in standing or seated reflections. In bathrooms and other damp spaces, confirm the environmental rating and applicable electrical requirements before procurement. Portable lamps introduce movable sightlines, so they need a separate check.
How should floor lamps and table lamps be positioned around floor mirrors?
Portable lamps should sit where floor mirrors reflect an illuminated shade or nearby wall, not a bare bulb or concentrated LED module. Check low viewpoints beside beds and sofas, then address stability, cords, clearances, and mirror anchoring.
Floor mirrors should reflect shaded portable lamps or illuminated surfaces
An opaque or fully diffused shade usually presents a broader, lower-contrast surface than a clear shade or exposed source. Confirm that the bulb remains behind the shade from standing and seated positions.
- Floor lamps: keep the source outside the central reflected view and choose a stable base.
- Table lamps: check the reflection from the bed, sofa, doorway, and nearby chairs.
- Uplights: aim toward a matte ceiling or wall rather than into the mirror.
- Safety: route cords away from circulation, anchor the mirror, and follow lamp wattage and clearance instructions near curtains, furniture, and frames.
Adjustable reading lamps need a separate floor-mirror nighttime check
A shielded reading head can enter the reflection after its arm rotates or tilts. Test the useful aiming range from seated, reclining, standing, and doorway viewpoints. Limit the adjustment or relocate the base if the source appears. This uncertainty is why the next check should happen before fixed electrical coordinates are approved.
A floor-mirror glare test should happen before electrical rough-in
Floor-mirror glare is easiest to prevent with a full-scale mockup before ceiling holes, wall boxes, and millwork become fixed. Tape out the mirror at its final size and tilt, place the furniture, and test temporary luminaires after dark.
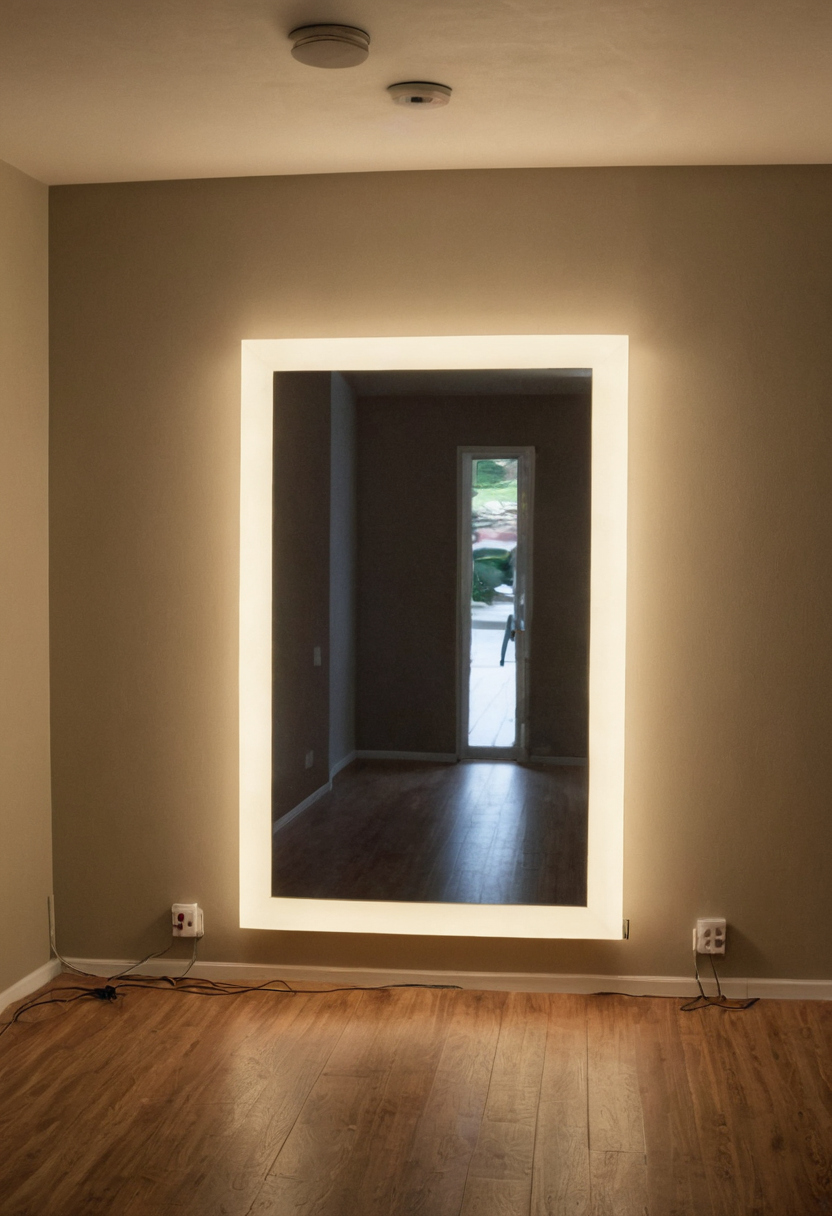
A floor-mirror glare test should happen before electrical rough-in shown with practical context cues.
Trace the reflected source from each floor-mirror eye position
- Record the ceiling height, mirror angle, furniture layout, user eye positions, proposed fixture distribution, aiming range, and control zones.
- Check from the doorway, dressing position, seating, bed, and principal circulation paths.
- Have an assistant move a temporary lamp or marker until its image enters each sightline. Use a camera for documentation, but never direct a laser toward eyes or reflective surfaces.
- Mark acceptable coordinates and aiming angles on the plan and site. Build a fixture mockup when a rendering cannot represent the aperture, shielding, or mirror tilt reliably.
A temporary lamp predicts source position better than final brightness. Repeat the check with the specified fixture if its aperture or light distribution differs substantially from the mockup.
Test floor mirrors under every nighttime lighting scene
Test after daylight no longer masks reflected contrast. For ambient, dressing, reading, cleaning, and circulation scenes, record the active luminaires, dimming level, viewer position, and discomfort. If bright apertures remain unavoidable, ask a lighting professional to assess source luminance and the surrounding brightness pattern. The results establish which shielding, aiming, dimming, or finish changes are justified.
Shielding, dimming, and finish selection reduce residual floor-mirror glare
When mirror placement or wiring cannot change, correct reflected glare in a controlled order: adjust the scene, redirect movable sources, reduce output, deepen shielding, broaden diffusion, and relocate fixtures only when simpler measures fail.
Floor-mirror glare controls must not leave the user underlit
Start by lowering the problem scene at the dimmer and aiming adjustable sources away from reflected eye positions. Next, test a compatible lower-output lamp, replacement trim, or diffuser. Confirm lamp, driver, dimmer, minimum-load, and control-protocol compatibility before purchasing components.
Shielding, dimming, and finish selection reduce residual floor-mirror glare shown with practical context cues.
A shield may conceal the aperture while leaving too little vertical light for dressing, grooming, circulation, or users with reduced contrast sensitivity. Compare face-level and floor illumination before and after each change. Also review nearby finishes: pale walls can distribute useful light, while glossy floors and polished frames may introduce additional bright reflections.
Floor-mirror lighting FAQ
These short answers address the most common electric-light placement decisions.
Final approval should follow the reflected-view test: coordinate the mirror, furniture, luminaire positions, aiming, shielding, and nighttime scenes before electrical rough-in makes those decisions expensive to change.
Floor-mirror lighting FAQ shown with practical context cues.